
Last updated November 18, 2026
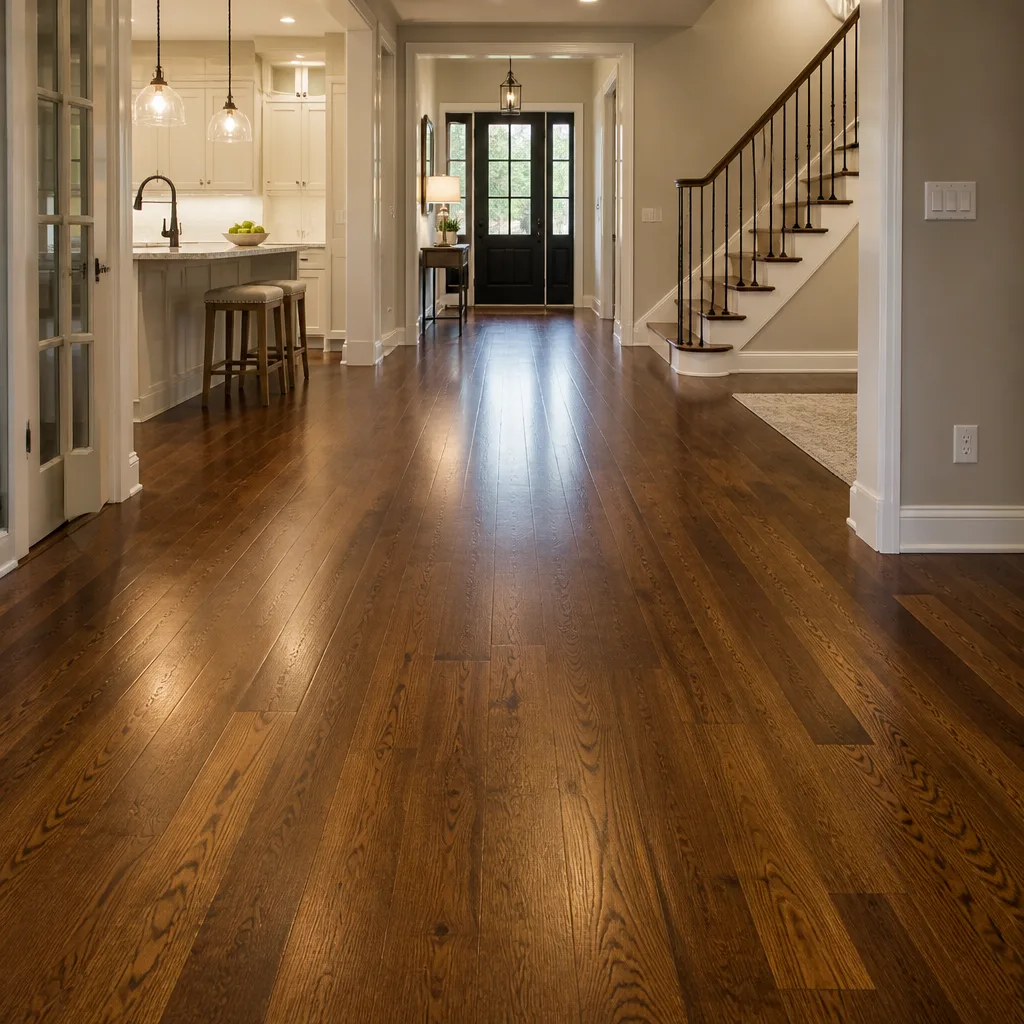 Hardwood
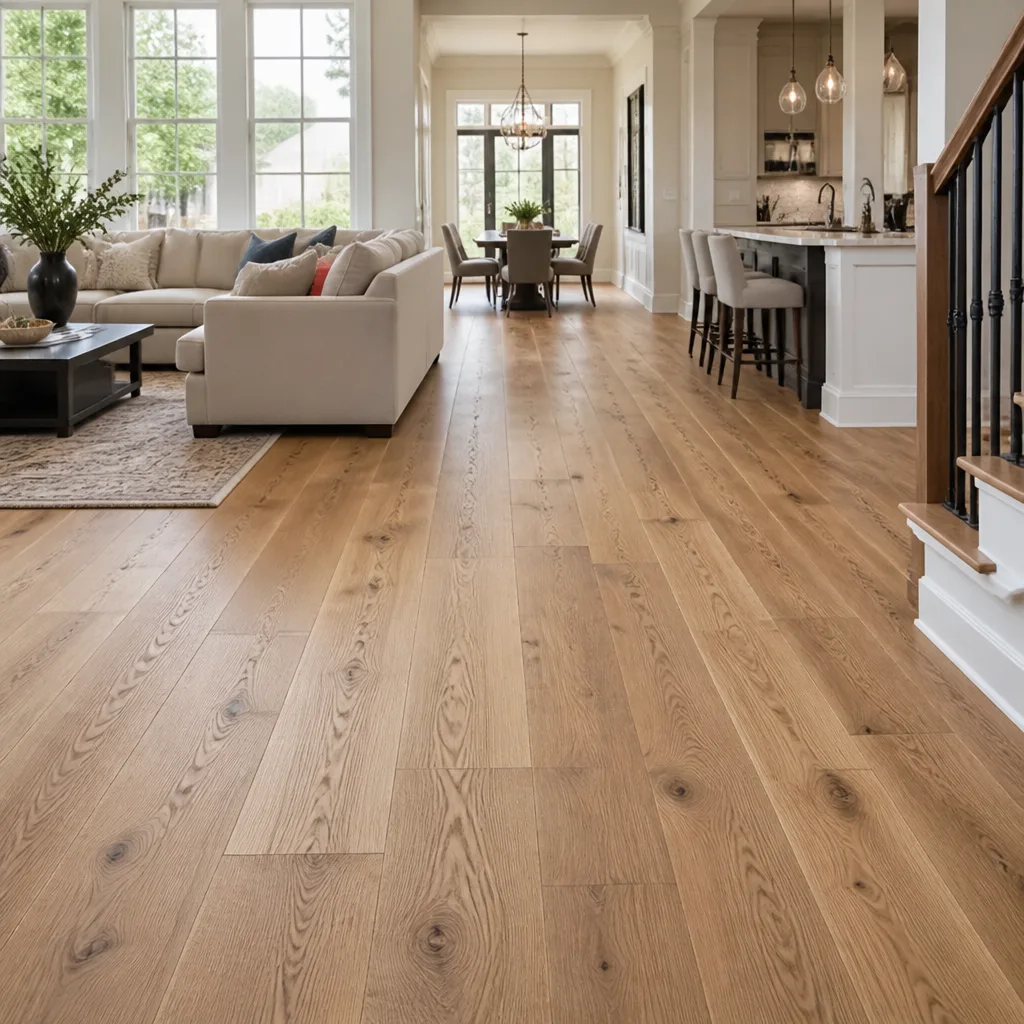 Engineered hardwood
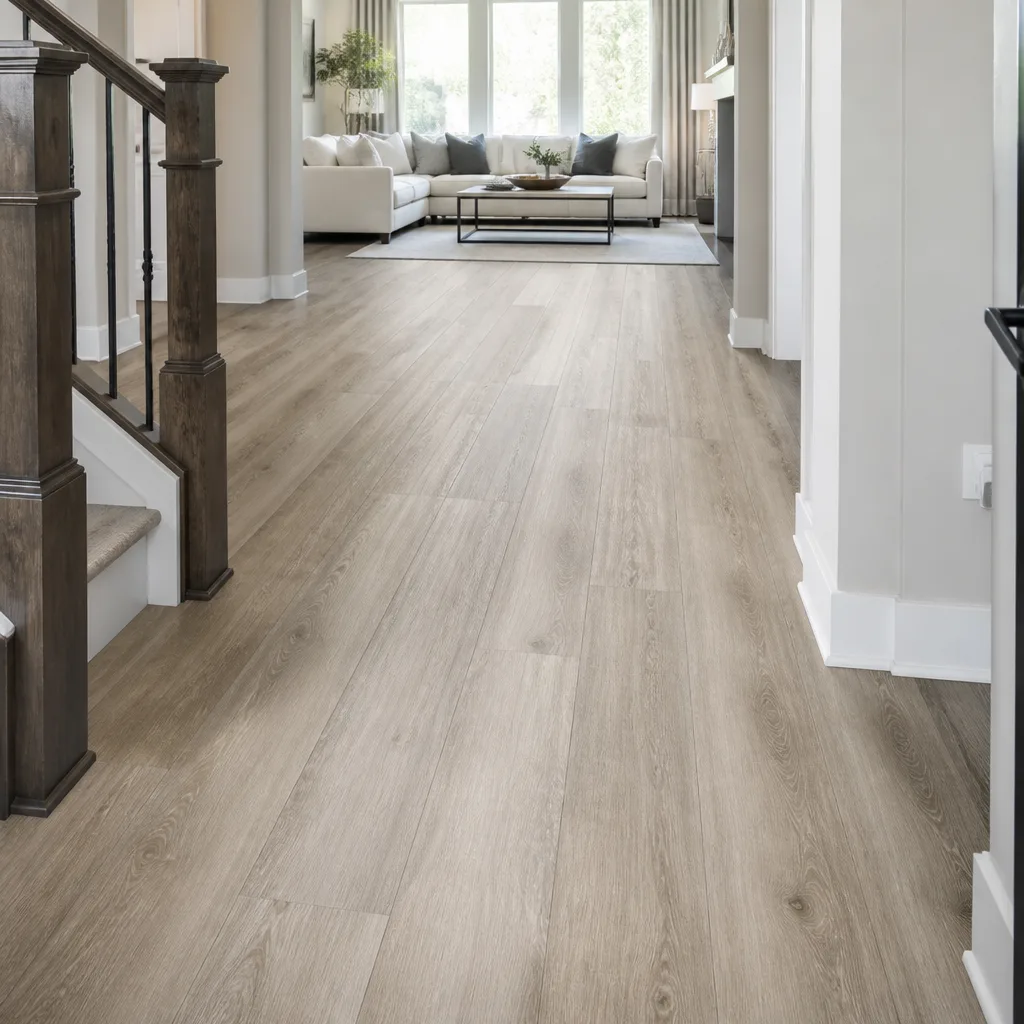 Luxury vinyl plank
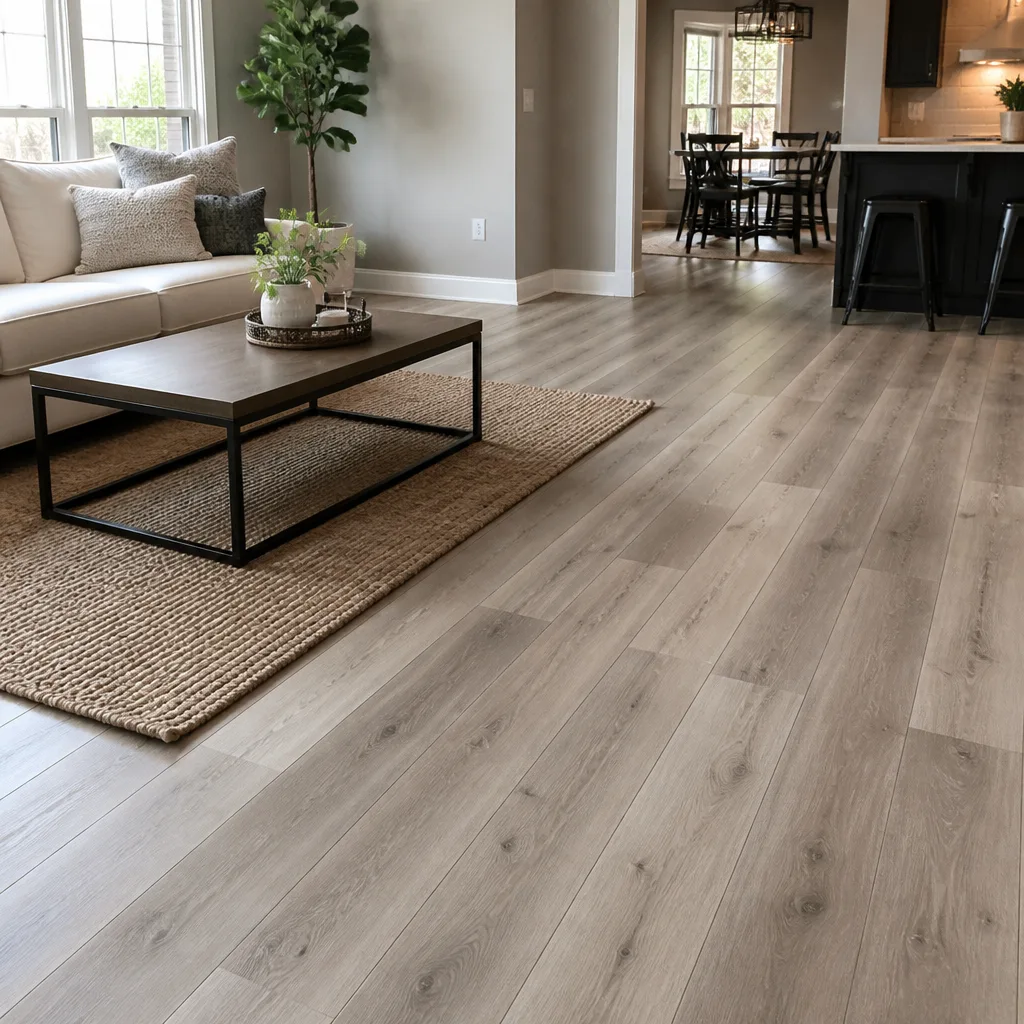 Laminate
 Porcelain tile
 Carpet
 Shaw
 Mohawk
 COREtec
 Pergo
Free in-home measure and written estimate: Shaw, Mohawk, COREtec and Pergo lines compared on your own rooms, with carpet, tile, vinyl plank, laminate and hardwood laid out side by side
Get your free estimateSubfloors Explained: What Sits Under Your New Floor
Most flooring failures start under the floor. The plank that buckles at a doorway seam, the tile that sounds hollow when you tap it, the hardwood that squeaks every time the hallway gets walked on – none of these began with the surface material. They began with a subfloor that wasn’t diagnosed before the surface went down. Homeowners spend weeks choosing a color and a brand and almost no time asking what’s underneath, which is backwards. The subfloor decides what you can install, what prep the job needs, and where the hidden costs sit in your estimate. This guide walks through the three subfloor types common in Winchester homes, moisture testing, flatness tolerances, what repair actually looks like, and how to spot red flags yourself before an estimator arrives.
Quick Answer
A subfloor is the structural layer beneath your finished floor – usually concrete slab, plywood, or OSB in Winchester homes. It determines which flooring products can be installed, how much prep is required, and whether the surface you’ve chosen will perform over time. Moisture testing, flatness measurement, and repair decisions come before the surface product, not after.
Styles & brands we work with
- Hardwood
- Engineered hardwood
- Luxury vinyl plank
- Laminate
- Porcelain tile
- Carpet
- Shaw
- Mohawk
- COREtec
- Pergo
Table of Contents
- The Three Subfloor Types in Winchester Homes
- Moisture Testing on Concrete – Why It’s Non-Negotiable in Nevada
- Flatness Tolerances by Product Type
- What Subfloor Repair Looks Like in Practice
- Subfloor Red Flags You Can Spot Yourself
- How Subfloor Condition Shapes Product Choice
- What Happens at the Estimate Visit
The Three Subfloor Types in Winchester Homes
Winchester sits in the Las Vegas Valley, and the housing stock here splits fairly evenly between slab-on-grade construction and wood-framed floors over crawlspaces or between levels. That split matters because the subfloor type is the first thing that constrains your product choice. What works beautifully on a plywood subfloor in a two-story home may be a poor fit on a concrete slab that has no room for deflection.
Here’s what each type permits and prohibits.
Concrete Slab
Most single-story Winchester homes sit on a concrete slab poured directly on grade. The slab is flat (usually) and stable, but it holds moisture from the soil below and it’s unforgiving about flatness and cracks. Slab subfloors generally accommodate tile, luxury vinyl plank, engineered hardwood, and carpet with the right padding and underlayment. They’re less forgiving with solid hardwood, which moves with humidity and has almost no tolerance for a slab that wicks moisture. Moisture testing is mandatory before any surface product goes down on a slab – more on that below.
Plywood
Plywood subfloor panels are the standard for wood-framed construction, and you’ll find them in older two-story homes and in additions throughout Winchester. Plywood is dimensionally stable compared to OSB, resists moisture better, and holds fasteners well. It’s the most flexible substrate for flooring because the subfloor itself has some give. It handles nailed-down hardwood, screw-down cement board for tile, and any soft surface. The trade-off is that plywood can delaminate if it’s been wet, and deflection between joists can telegraph up through rigid surfaces if the panels are too thin or the spacing is off.
OSB (Oriented Strand Board)
OSB is the engineered wood panel made from compressed strands. It’s bonded with resin and looks like a flake pattern rather than plywood’s layered grain. OSB is common in newer construction because it’s cheaper than plywood and performs adequately in dry conditions. What OSB doesn’t handle well is moisture – it swells at the edges when wet and doesn’t recover flatness after it dries. On a job in Winchester, if we find OSB that’s been exposed to water, board replacement is usually the correct call rather than trying to level over the swollen area. Surface product compatibility is similar to plywood, with the caveat that moisture intrusion has to be resolved first.
Whatever the substrate, the same three questions come first: what is it, how flat is it, and how much moisture is in it. Surface product selection is the fourth question, not the first.
Moisture Testing on Concrete – Why It’s Non-Negotiable in Nevada
Here’s the counterintuitive part about moisture testing in Winchester. Our ambient humidity is low. Very low. Homeowners reasonably assume that means moisture can’t be a problem, and that assumption is where surface failures begin. The moisture that damages flooring on a slab doesn’t come from the air. It comes up through the slab from the soil underneath, and it doesn’t care what the relative humidity is at eye level.
Concrete is porous. Even a slab poured decades ago wicks moisture vapor from the soil below the slab. When that vapor hits the underside of a flooring product that doesn’t breathe – sheet vinyl, LVP, laminate, some engineered woods – it either traps under the surface and degrades the adhesive bond, or it migrates through seams and edges. The result looks like a surface failure (buckling, cupping, hollow sounds) but the cause is under the floor.
Two test methods are used in the trade:
- Calcium chloride test (ASTM F1869) – measures moisture vapor emission rate from a slab over a set period. It’s a standard test method many flooring manufacturers reference in their installation instructions.
- In-situ relative humidity probe test (ASTM F2170) – inserts probes into holes drilled into the slab and reads the humidity inside the concrete. This method has become the more common approach in recent years because it accounts for depth and slab thickness.
The specific limits that apply to your project are set by the product manufacturer’s installation instructions, not by us. That’s why we don’t quote a universal number – a COREtec product and a Daltile porcelain product have different tolerances, and the product instructions govern. What we do is test, report, and let the product decide. If the slab is reading high, the fix is usually a vapor barrier or surface-applied moisture mitigation system before the surface goes down. If we skip testing because the humidity outside is 12%, we’re guessing, and guessing is how floors fail.
Flatness Tolerances by Product Type
Flatness is separate from moisture, and it’s the single most common source of hidden cost on a flooring estimate in Winchester. A floor that looks fine to a homeowner’s eye can be out of tolerance for a rigid product, and a floor that looks wavy can be perfectly acceptable for carpet.
The specific tolerances that matter depend on the product:
- Carpet – the most forgiving. Carpet and padding absorb minor undulations, and the standard tolerance reflects that. Leveling matters less than making sure there are no lumps, dips, or loose substrate that would telegraph through.
- Luxury vinyl plank and laminate – moderately demanding. These products require a flat substrate because flex over a dip or crown in the subfloor can stress the locking system. Typical tolerance is measured over a 10-foot span, and the number is set by the product instructions.
- Tile – the most demanding. Ceramic and porcelain tile do not flex, so any defect in flatness shows up as a hollow tile, a lippage problem between tiles, or a crack. Tile over a subfloor that isn’t flat enough is a failure waiting to happen, and the tolerance is tighter than any other surface.
- Hardwood – flatness matters for seating and appearance, but the wood has some ability to accommodate minor variation depending on thickness and installation method.
We measure flatness at the estimate with a straightedge and record where the deviations are. The result determines whether the surface can be installed as-is or whether a self-leveling compound or board repair is needed first. The measuring rule is usually a fraction of an inch over a 10-foot span, but the exact number for your floor comes from the product’s installation instructions. We don’t publish a universal tolerance because doing so would be wrong for some products and unnecessarily conservative for others.
What Subfloor Repair Looks Like in Practice
Subfloor repair is not a single job. The right repair depends on what’s wrong, and there are three common categories. Each has a distinct approach and a rough cost range that homeowners want to know before the estimate.
1. Self-Leveling Compound
When the slab or wood subfloor is out of flatness but structurally sound, the fix is usually a poured self-leveling compound. A latex-modified underlayment is poured, spread, and allowed to flow flat. It cures into a hard, smooth surface. This is the most common repair we encounter in Winchester slabs.
- When it’s used: minor dips, crown at joints, slight waviness where the substrate is otherwise intact.
- Rough cost range: typically $2-$6 per square foot for the material and labor, depending on the depth of fill and the area covered. Small isolated patches cost less than a full-room pour.
- What can go wrong: if the slab has significant moisture or cracks that aren’t addressed first, leveling compound can debond. Moisture testing comes before the pour, always.
2. Board Replacement
When a subfloor panel is water-damaged, delaminated, or structurally compromised, it has to come out and be replaced. On wood subfloors this means cutting out the affected panel, matching the thickness and grade, and re-fastening it so the new board sits flush with the surrounding field. On slabs, board replacement isn’t a category – but underlayment panels over a slab may need replacement if they’ve absorbed water.
- When it’s used: swollen OSB edges, delaminated plywood, rot around plumbing penetrations, water stains with soft spots.
- Rough cost range: typically $3-$10 per square foot for the affected area, depending on how much needs to come out and how accessible the area is.
- What can go wrong: replacing only the visibly damaged area when the adjacent panels are also compromised. We probe the neighboring panels to make sure the repair holds.
3. Grinding and Patching
High spots are the other half of the flatness problem. When the subfloor has bumps, ridges at joints, or uneven transitions at doorways, grinding brings them down. Followed by a patch compound to fill what remains, grinding is a smaller-scale repair than a full leveling pour.
- When it’s used: ridges at panel seams, high spots at concrete form marks, transitions between rooms.
- Rough cost range: typically $1-$4 per square foot, depending on the extent of grinding and patching required.
- What can go wrong: grinding too deep into a slab can expose aggregate and create a new texture problem. This is finish work, not demolition.
These ranges are estimates for planning. The written estimate for your job sets the actual price, and only a visit to measure the subfloor can produce that number.
Subfloor Red Flags You Can Spot Yourself
You don’t need a moisture meter to know your subfloor needs a closer look. Before you call an estimator, do a walkthrough and check for these signs. What you find becomes useful information for the estimate visit.
- Soft spots when you walk. Step across the floor slowly, barefoot or in socks, and notice any spot that gives. Softness usually means moisture damage in the board or substrate below.
- Hollow sounds under tile or LVP. Tap the surface lightly with a coin or knuckle. A solid tap sounds short. A hollow tap sounds like a drum, and it’s usually a sign of a debonding surface or a void underneath.
- Visible cupping or crowning in existing hardwood. Edges that curl up (cupping) or centers that rise above edges (crowning) are both moisture signals. They don’t always mean the subfloor is the culprit, but they’re worth flagging.
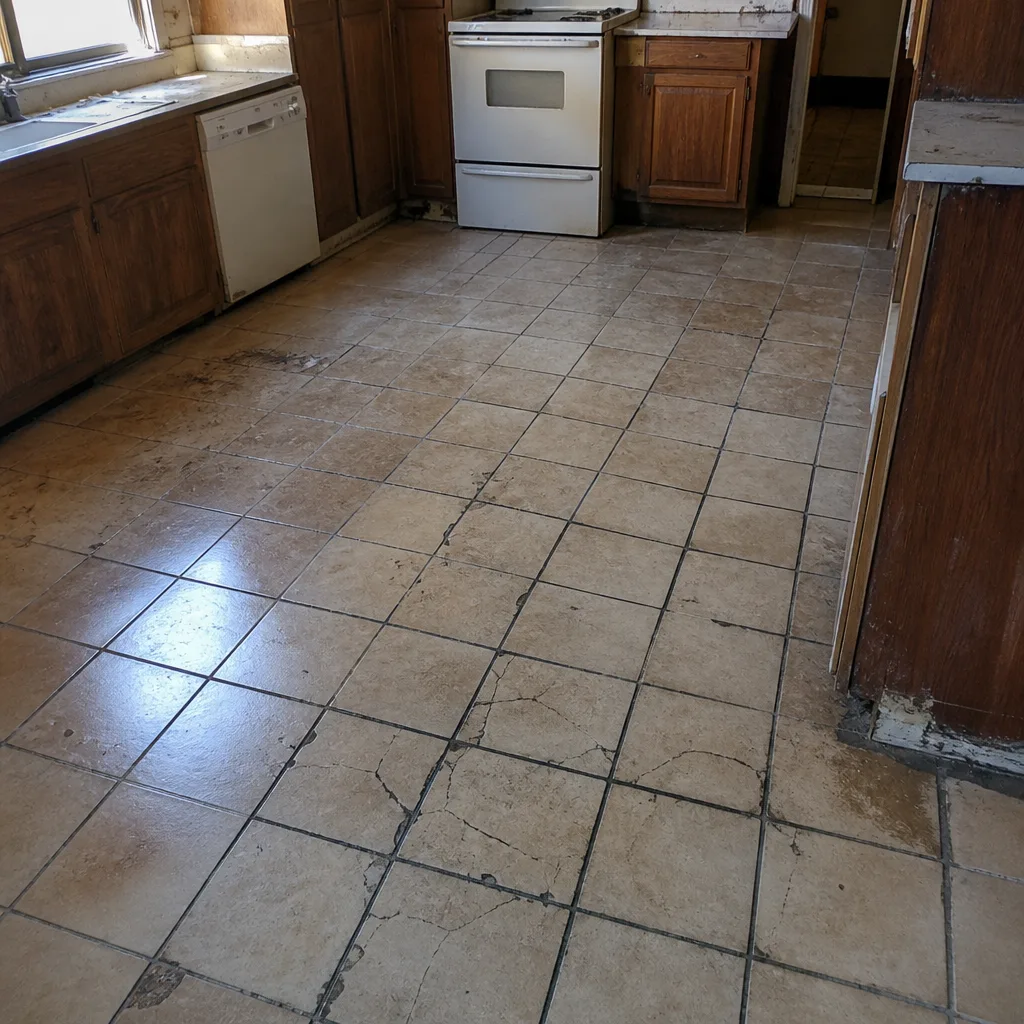
- Grout lines that crack or separate. In a tile floor, cracking along grout lines and tiles that loosen at the edges usually point to subfloor deflection – the floor flexes under load. That’s a flatness and substrate issue, not a grout issue.
- Lifting or peeling at seams in existing vinyl or LVP. Adhesive failures near seams are often moisture-related. Note where they are before they get worse.
- Water staining at the perimeter or around plumbing. Look along baseboards and around toilet flanges, washer hookups, and under the kitchen sink. Stains are a signal that moisture has reached the subfloor at some point.
- Squeaks in specific areas. A squeak is a fastener or panel movement. One squeak is cosmetic. Three squeaks in a cluster is a board that’s loose, and it will telegraph up through any new surface.
Write down what you find and where. Specific information helps us plan the estimate visit and pick the right repair categories before we arrive. If you’re still deciding which surface you want, note that too – the subfloor condition may narrow the product list.
How Subfloor Condition Shapes Product Choice
One of the practical benefits of choosing from a broad brand roster is that we can steer you toward a product that fits the subfloor you actually have, rather than telling you the subfloor is fine when it isn’t. Subfloor condition is a real constraint, and matching product to substrate is half the job.
Consider three scenarios.
A slab with flatness issues. Tile is on the table, but only with leveling compound first. If leveling isn’t in the budget, a resilient product like LifeProof luxury vinyl plank tolerates a bit more variation and is water-resistant. LifeProof’s rigid core construction handles a concrete slab that’s slightly off-flat better than a porcelain tile would. But it still requires moisture testing and doesn’t eliminate the need for repair – it just moves the tolerance.
A wood-framed upstairs room with deflection. Carpet is the natural fit here. Deflection between joists telegraphs through any rigid surface, and carpet with a quality pad absorbs it. If the homeowner wants a hard surface anyway, we look at whether the subfloor can be stiffened first – or whether a thick engineered product like Mannington’s engineered hardwood (over the appropriate underlayment) makes sense.
A concrete slab with high moisture readings. Laminate and many engineered products are off the table without a moisture mitigation system. Options that manage vapor differently – as specified in the product instructions – may be the right call. Pergo and Armstrong have product lines suited to different situations, and the installation instructions for the specific product control the decision. We don’t guess; we test and match.
The pattern across all three: subfloor isn’t a variable you optimize after the floor choice. It’s the input that narrows the floor choice. That’s why the estimate visit comes before the product conversation, not after. Our technicians have up to 8 years of experience reading subfloors and matching products to what’s actually there.
What Happens at the Estimate Visit
We want homeowners to know what to expect, so the estimate visit isn’t a mystery. A typical visit runs through a sequence of steps, and each step feeds the next.
- Room-by-room walkthrough. We walk the rooms you want to floor and look at the existing surface, the transitions, the perimeter, and anything that stands out. We take notes on what you’ve already flagged.
- Subfloor identification. We confirm the substrate type – slab, plywood, or OSB – by visual inspection and by probing. On a slab with a resilient floor over it, we may need to lift a corner to see below.
- Moisture testing. On slabs, we perform the test method appropriate to the product you’re considering. The reading determines whether a mitigation step is required.
- Flatness measurement. We use a straightedge to locate high spots, low spots, and deviations, and we record the results against the product tolerance for whatever surface you’re leaning toward.
- Inspection of the existing floor. If the surface is being replaced, we look at what’s under it. Existing adhesive, underlayment, and thinset residue can affect the new installation.
- Discussion of product options. With the subfloor findings in hand, we talk through which products fit and which don’t. This is where brand range matters – nine brands, one conversation, and a shortlist that fits your actual subfloor.
- Written estimate. Everything above feeds a written quote: surface product, prep and repair categories, leveling or patching, and labor. The written estimate sets the price.
We book the install after the estimate, not before. The schedule is set once we know what the subfloor requires and how much prep the job will take.
If you’re planning a carpet replacement or comparing products for a whole-home renovation, the subfloor questions in this guide apply equally. If you’re considering refinishing existing hardwood rather than replacing it, the subfloor under the wood still matters, but the wood itself and its condition become the deciding factor. For surface-specific guidance, you can look at our carpet installation page, our tile flooring installation page, and our refinishing service.
Common Mistakes to Avoid
- Choosing the surface before checking the subfloor. The most common mistake on a Winchester job is picking a product first and then discovering the subfloor can’t support it. Start with the substrate, then the surface.
- Skipping moisture testing because the air is dry. Nevada’s low ambient humidity has nothing to do with slab moisture. Vapor comes from the soil below, not the air.
- Installing tile over a subfloor that’s out of flatness. Tile doesn’t flex. A floor that looks flat enough for carpet is not flat enough for porcelain, and cracking follows. Measure before you commit to tile.
- Leveling over wet or cracked concrete. Self-leveling compound bonds to the substrate, and it doesn’t bond to wet concrete or to cracks that are still moving. Moisture mitigation and crack treatment come first.
- Replacing only the visible damage. When OSB or plywood is swollen or delaminated, adjacent panels are often compromised too. Probe before deciding what to replace.
- Assuming the existing floor’s failure was the surface’s fault. Buckling, cupping, and hollow tile are usually subfloor symptoms showing up on the surface. Fixing the surface without addressing the substrate repeats the failure.
- Not writing down red flags before the estimate. A note about exactly where the floor is soft or where the tile sounds hollow saves time and improves the estimate’s accuracy. Bring your list to the visit.
See the difference
 Before
 After
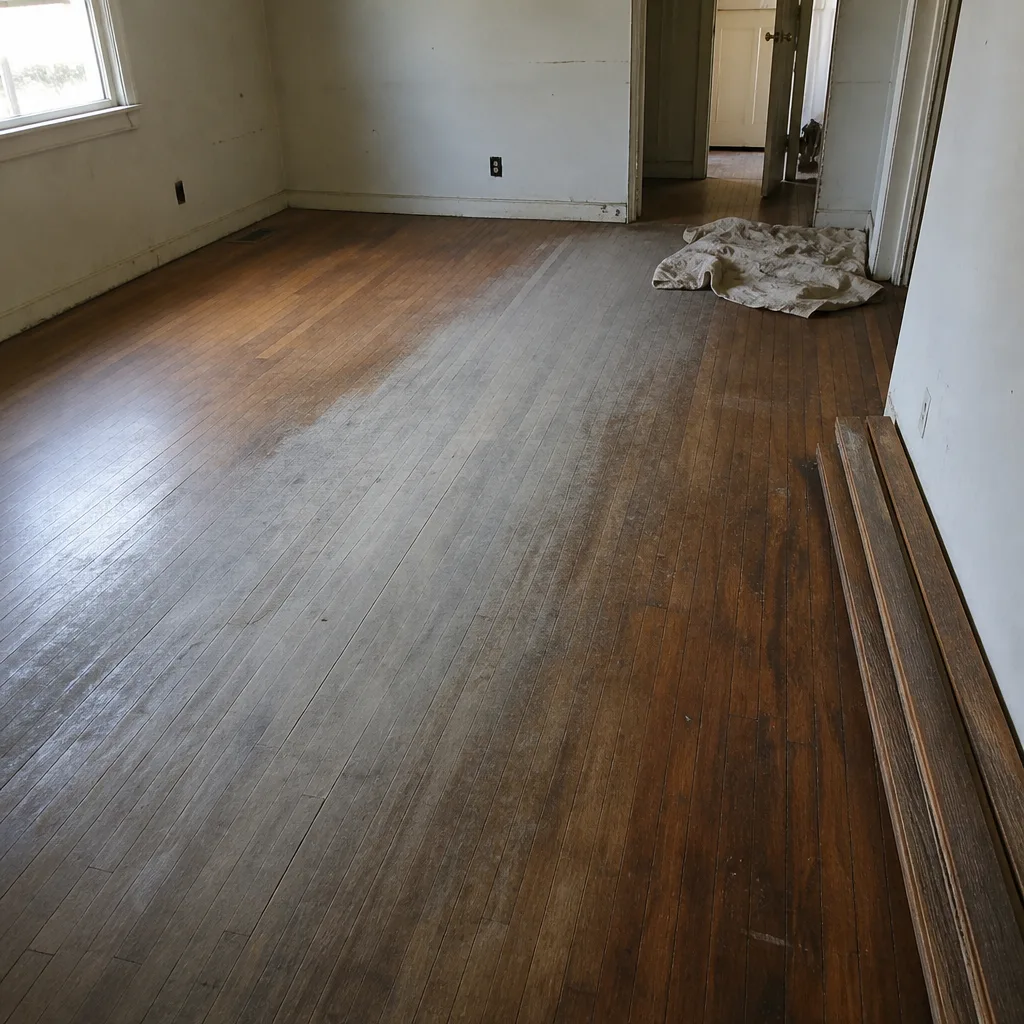 Before
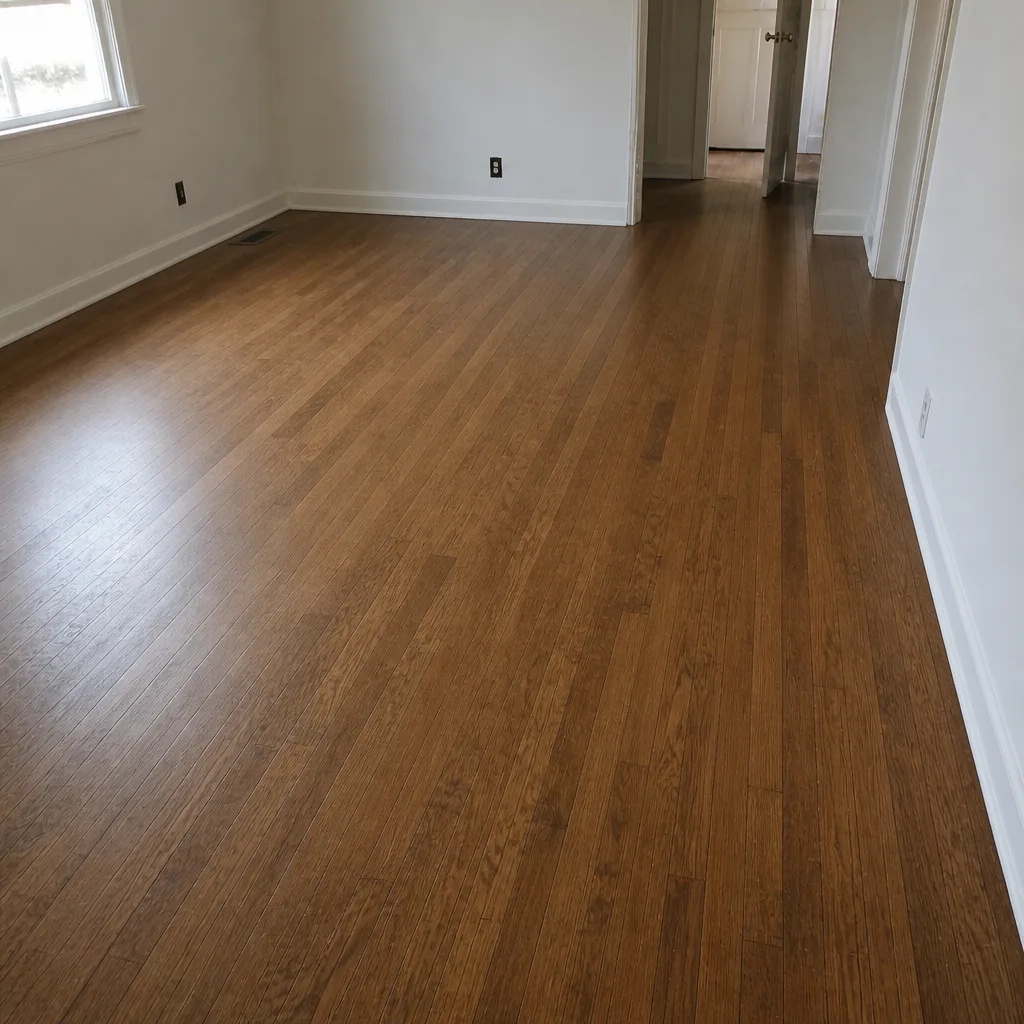 After
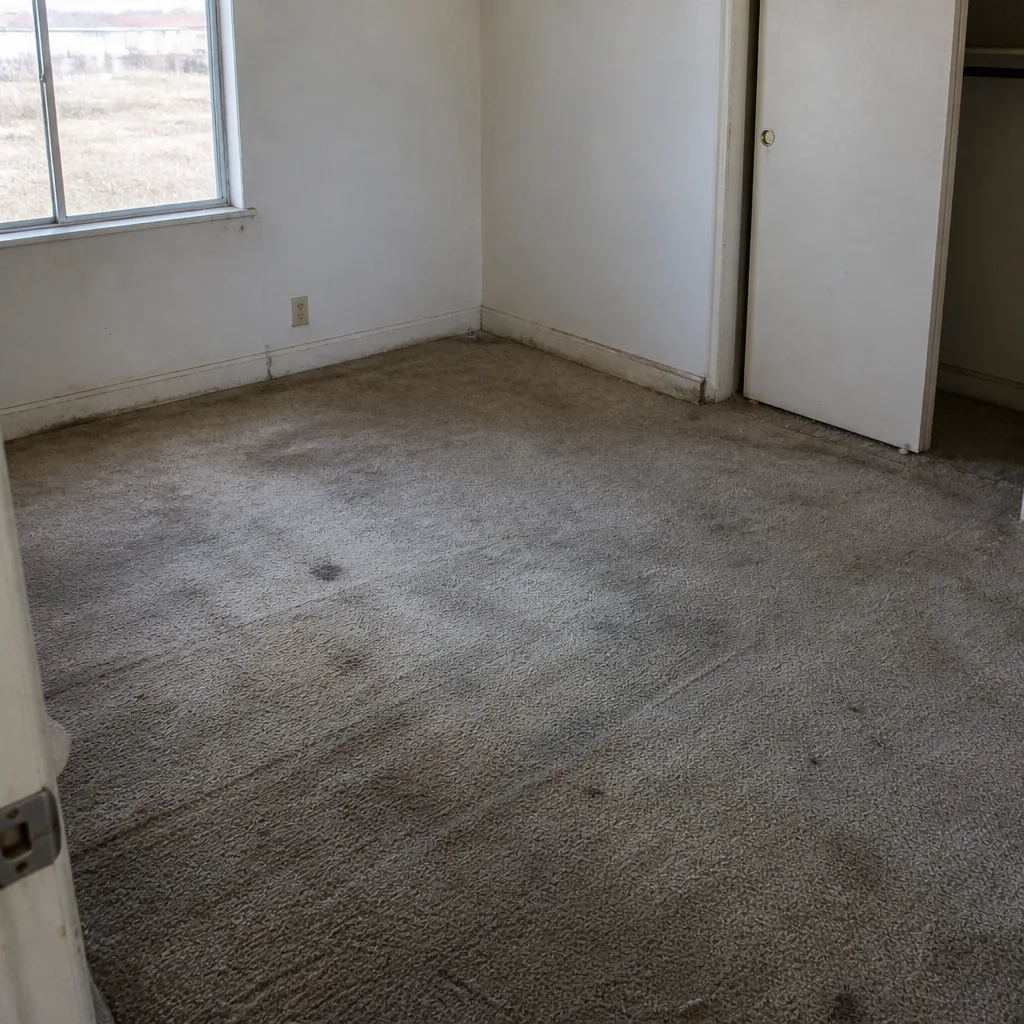 Before
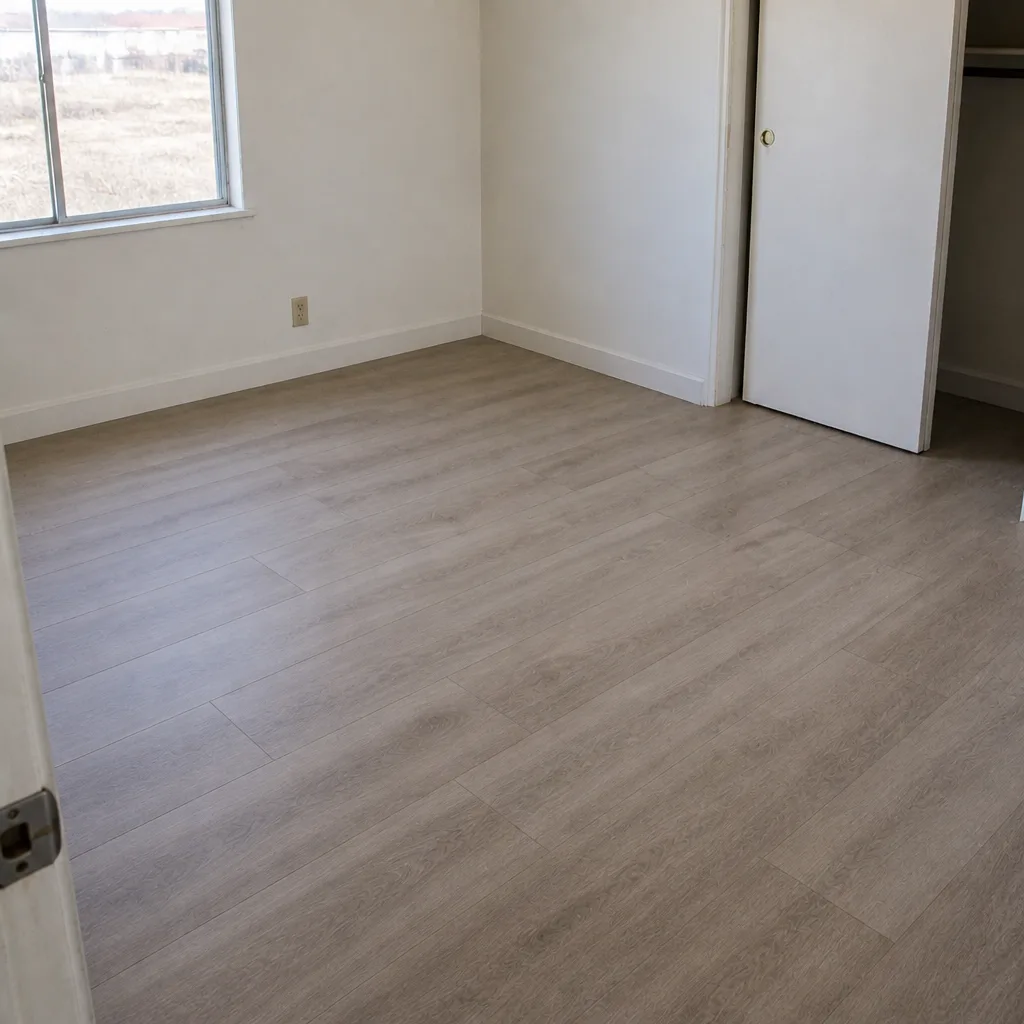 After
When to Call a Professional
Some subfloor questions are answerable with a walkthrough. Others need testing equipment and experience to read correctly. Call a professional when the floor is soft or spongy in a localized area, when tile is hollow or cracking, when hardwood is visibly cupping or crowning, when the subfloor is a slab and you don’t know its moisture history, or when you’re considering a rigid product over a subfloor that’s never been measured. The stakes are high because the cost of a failed installation usually means doing the whole job twice – once for the surface and once for the repair that should have happened first. Flooring Winchester offers free estimates in Winchester – call (844) 761-8337 to schedule yours. We answer 24/7. Fast dispatch from 7am to 7pm, Sunday through Friday.
Frequently Asked Questions
A subfloor is the structural layer beneath your finished floor – usually concrete slab, plywood, or OSB. It matters because it determines what products can be installed, how much prep is required, and whether the surface will perform over time. Call (844) 761-8337 for a free estimate that includes a subfloor assessment.
Yes. Moisture testing on a concrete slab is non-negotiable in Winchester, even though the ambient humidity is low. Slab moisture comes up from the soil below, not the air, and trapped vapor is a common cause of surface failures. Call (844) 761-8337 for an exact quote – estimates are free.
Flatter than for carpet or resilient products. Tile is rigid, so a subfloor out of flatness shows up as hollow tiles, lippage, or cracking. The specific tolerance for your tile comes from the product’s installation instructions, and we measure at the estimate to check it. Call (844) 761-8337 to schedule a free measurement.
Look at the panel edges. Plywood has visible layered grain; OSB has a compressed flake or strand pattern. If you can see the substrate at a floor register or during a partial removal, you can usually tell. If not, we confirm at the estimate visit.
Typical ranges in Winchester are $1-$4 per square foot for grinding and patching, $2-$6 per square foot for self-leveling compound, and $3-$10 per square foot for board replacement, depending on the extent. The written estimate sets the actual price. Call (844) 761-8337 for a free estimate.
Yes, but less directly than a new surface installation. Refinishing works on the existing wood, and the subfloor condition affects how well the wood has held up. We check both the wood and the substrate at the estimate to confirm the floor can be refinished. Call (844) 761-8337 to schedule a free assessment.
The Bottom Line
The subfloor is the most important variable in your flooring project, and it’s the one almost nobody talks about. Substrate type – concrete slab, plywood, or OSB – determines what you can install. Moisture testing on slabs is required in Winchester regardless of ambient humidity. Flatness tolerances vary by product, and tile is the most demanding. Repair ranges from grinding and patching to board replacement, and the cost depends on what the estimate finds. Before you commit to a surface, know what’s under it. That’s the difference between a floor that lasts and a floor that looks like a failure three years from now. For the full picture of what we bring to a project – material range, brands, and installation accountability – see Flooring Winchester. If you’re in the area, our Winchester page has local context on neighborhoods and housing stock.
Ready to know what’s under your floor? Call (844) 761-8337 for a free estimate. We answer 24/7. Fast dispatch from 7am to 7pm, Sunday through Friday.
Written by the team at Flooring Winchester.